Retailer product images: assign variants and control image order
The green chair has the blue main image. A set of two shows only one chair, while an assembly manual appears first. The files exist, but do not match the configuration sold or their intended role.
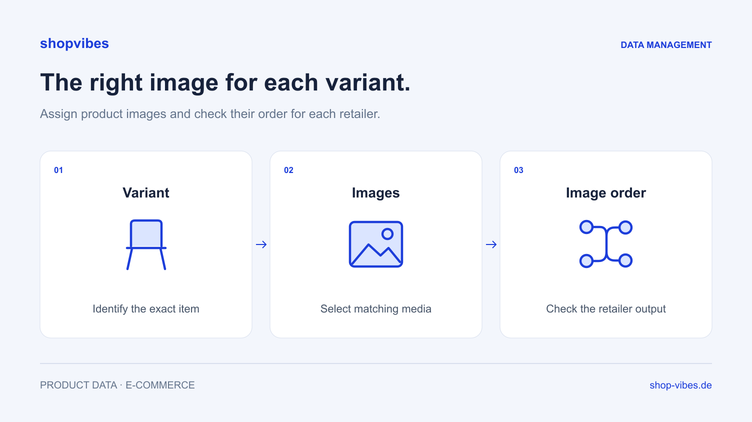
Check three things separately: Which item does the media belong to? What role does it serve? Where should it appear for this particular retailer? Only then check technical image requirements and the retailer’s presentation.
1. Assign images to the configuration being sold
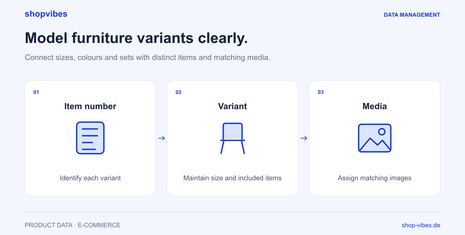
A series folder alone is insufficient when products have different colours, sizes or included items. Record which configuration each media file actually shows. Shared detail images may apply to several items; a colour-specific main image needs the appropriate assignment.
The following is a fictional internal data model. The DEMO items are neither real customer products nor an official retailer template.
| Item | Main subject in the example | Additional useful check |
|---|---|---|
| DEMO-CHAIR-BL | One midnight blue chair | Detail of the actual surface |
| DEMO-CHAIR-GR | One green chair | Colour matches the specific configuration |
| DEMO-CHAIR-BL-2SET | Two midnight blue chairs, where permitted by the channel | Included items agree across title, text and image |
The set is a separate item here. Check independently whether a channel allows this presentation as a main image and groups the set with single items. An accessory in a lifestyle photograph must not misrepresent what is included. The furniture variants and sets guide explains the underlying model.
2. Record media roles and approval
Distinguish the main view, additional angles, detail image, dimension drawing, lifestyle image and document. These roles help organise files internally; their names do not have to match retailer fields.
Before output, check:
- Is the file approved for this item and target market?
- Does it show the correct colour, surface and configuration?
- Can the product, accessories and set components be distinguished clearly?
- Is a dimension drawing current and consistent with the product dimensions?
- Do assembly and care documents match the configuration and language?
Media tags help with assignment and sorting. They do not replace checking the actual image or usage rights.
3. Check retailer requirements separately
A good source file does not automatically meet every channel’s requirements. Keep a checklist for each relevant retailer, distribution model, country and category combination. Record the source and when it was last checked.
| Target channel | What to look up currently | What to check next |
|---|---|---|
| OTTO Market | Media rules in the API documentation and category requirements, such as file formats, colour space and main-image presentation | Inspect output files and processing for the affected SKU |
| Amazon Seller | Image requirements for the actual store and product type in the current seller process | Compare the selected variant with the main image actually displayed |
| home24 Marketplace | Current category template and requirements in your partner process | Inspect the submitted image field, import result and presentation |
| XXXLutz Marketplace | Its category template and partner media requirements | Check image assignment and automated or applicable manual approval |
For example, the OTTO best practices specify JPG/PNG images, RGB colour space and main-image requirements. Do not apply these as general rules for other retailers. Check pixel dimensions, aspect ratio, file size, image count and permitted contents against the current target requirements as well.
The integration pages for OTTO, Amazon Seller, home24 and XXXLutz Marketplace explain the different partner processes. English wording does not extend those retailer rules to other countries or accounts.
4. Configure partner-specific sequences in shopvibes
The Media Buckets instructions describe control through sequences, buckets and media tags. Without a partner-specific configuration, the default media tag order applies.
For a separate output, create a named sequence and the required buckets in the partner configuration. Assign tags to buckets and sort them within each bucket. Images and PDF documents can therefore use different buckets, for example.
The configured mapping template must then reference this setup: the “Media Link” mapping type is connected to a sequence, bucket, media quality and required file position. Save both the sequence and mapping. Later order changes are made in the relevant bucket.
The instructions include a setup note for existing partners: the configuration must be created again once to use the bucket view. Plan the change deliberately and inspect a test output. This does not mean all partners are migrated retrospectively and automatically.
This order control does not promise automatic cutouts, resizing or content approval for every channel. The media quality and image fields used by your partner mapping are agreed for that setup.
5. Find the cause in the right place
| Observation | First question | Check after the change |
|---|---|---|
| Green chair with a blue image | Is media assigned to the wrong item, or is a shared series image being selected? | Compare both configurations in output and retailer view |
| PDF instead of main image | Does the image field reference the correct bucket and file position? | Open the first image field’s file type and contents |
| Wrong image order | Is the partner sequence referenced and saved in the mapping? | Open the complete image list for the test SKU |
| Image cannot be loaded | Is the output address reachable for the intended retrieval and does it serve the correct file? | Check without your own session, then in the partner process |
| Set appears as a single chair | Do image, quantity and included items agree? | Check the approved set presentation together with product text |
These are diagnostic questions for fictional examples, not original retailer error codes. If a file is rejected after submission, use the actual feedback and change the relevant cause. Successful submission alone does not confirm correct presentation.
Checklist before a wider rollout
- Select a single item, another colour and a set case.
- Check image assignment, role and approval for each item.
- Review current media requirements for the actual target category.
- Check the partner sequence and references in the mapping template.
- Open output image addresses, file contents and the image sequence.
- Submit test data and inspect the partner’s feedback.
- Open the item and variant on the retailer’s site and compare the presentation.
- Only then reuse the checked assignment for further items.
The furniture solution connects media with variants, dimensions and retailer formats. Bring three different configurations and a retailer template to your demo. They provide a practical basis for discussing the image assignment and output your range needs.
Sources and review date
Reviewed on 3 November 2026. The example data and diagram are our own fictional illustrations. The retailer’s current requirements and configured shopvibes mapping remain decisive. The shopvibes help centre instructions are in German.
- shopvibes: Media Buckets and partner-specific media order
- OTTO Market: best practices, content and media requirements
About the author

Author
Tim Hoffmann
Chief Product Officer, shopvibes
Tim Hoffmann is Chief Product Officer at shopvibes. His work focuses on product data management, marketplace integrations and e-commerce workflow automation.