Selling on OTTO Market: Prepare onboarding and product data
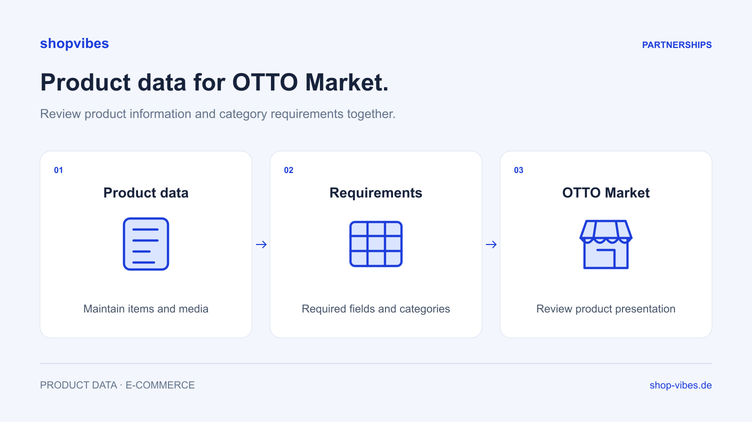
Launching on OTTO Market involves several decisions. Is your company eligible for the marketplace programme? Which products should you offer first? Where will content, media and offer data be maintained? And how will you check that the first items have arrived correctly at the retailer?
This guide helps you organise onboarding and product data preparation for OTTO Market in Germany. If you are investigating a problem after submission, follow the separate OTTO product not online guide.
Which OTTO sales model fits your project?
First establish whether you intend to sell to consumers as a marketplace seller or whether you mean a traditional supplier relationship with OTTO. Check access, agreements and data delivery for the chosen model.
This article covers OTTO Market. The other data process has its own OTTO supplier page. Do not reuse an account or template from that model for the marketplace without checking it.
Step 1: Check current requirements and access
Use the official OTTO checklist before preparing your application. It describes seller requirements and distinguishes, among other things, the company’s country of establishment. OTTO reviews admission. An English-language guide does not imply that UK or US companies are automatically eligible.
Record the following for your internal preparation:
- Which company will be the contracting party?
- Which range and product groups should launch?
- Who is responsible for account setup and discussions with OTTO?
- Who will maintain product data, customer service and operational processes afterwards?
- Which current conditions must be met before launch?
Take the binding requirements from the current partner process. An old checklist or another marketplace’s conditions are not a reliable shortcut.
Step 2: Choose a suitable initial range
Choose a product group whose data your team understands and can verify. Testing only the simplest items tells you little about how the later process will handle sizes, colours and sets.
For furniture, a useful small selection might include a simple item and a product family with different configurations. Add a representative set item if sets form part of the range. Check the destination category and data structure for each case.
Extend the selection after the controlled test. This makes it easier to identify whether a problem comes from a source record, the mapping or the partner process.
Step 3: Define data ownership
Before setup, agree where authoritative information originates and who changes it.
| Data area | Internal decision before launch |
|---|---|
| Item identity | Establish stable item numbers and existing identifiers |
| Product properties | Assign responsibility for material, dimensions and contents |
| Text and media | Provide approved content and variant images |
| Prices and stock | Identify the authoritative system and agreed delivery route |
| Feedback | Assign responsibility for reviewing errors and repeating tests |
| Retailer requirements | Assign responsibility for categories and changed requirements |
An existing ERP or PIM can remain the source for agreed data. Changes should not develop independently in several places. Our PIM guide provides an overview.
Step 4: Prepare category data and media
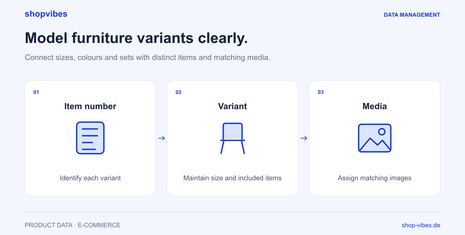
Check the current OTTO category and its attributes. Separate shared model information from the properties of each configuration. Dimensions, material, colour, contents and matching images provide a useful starting point for furniture data preparation.
This fictional example shows an internal data model, not an official OTTO template:
| Property | DEMO-TABLE-120-OAK | DEMO-TABLE-160-OAK |
|---|---|---|
| Family | TABLE-LINN | TABLE-LINN |
| Width | 120 cm | 160 cm |
| Depth and height | 80 cm and 75 cm | 80 cm and 75 cm |
| Material | Melamine-faced chipboard | Melamine-faced chipboard |
| Contents | One table; chairs excluded | One table; chairs excluded |
Shared model copy can describe the range. The title, dimensions and image must match the configuration offered. Pay particular attention to values stored only once for an entire range in a source file.
A mapping records how the source data becomes a partner output. It may use direct attributes, fixed values or value mappings. Our retailer templates and mapping guide explains the approach.
Step 5: Configure the connection and submit test products
Agree the intended account, product group and delivery scope with your integration provider. shopvibes prepares data for the configured OTTO Market connection and submits it via API. The OTTO integration page explains the setup.
Define what you will inspect before the test: for example, different table widths, the matching variant image and clear contents. Keep the data used and the submission time.
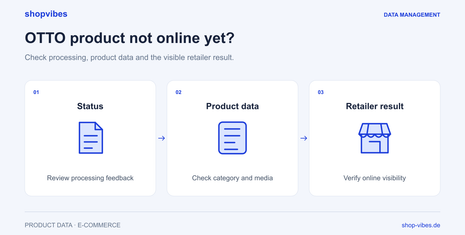
Then check feedback and the retailer-side state. OTTO distinguishes processing of submitted data from the subsequent marketplace status. Submission alone therefore does not complete the review.
Step 6: Organise ongoing operations
Define how new items will be added and how existing content will change. Also record who maintains price and stock sources and how shipping, returns and customer enquiries will be handled. The scope of these tasks depends on your chosen setup.
For recurring data problems, keep a short issue log: affected items, cause, change and retest result. A wrong range-level mapping, for example, should be corrected in the mapping or source so it does not return with every new configuration.
Which costs should you clarify before launch?
Check current terms directly with OTTO through the intended contractual process. Also consider data preparation, integration, ongoing maintenance and the operational tasks relevant to your business.
Record what each proposal includes. Which categories and outputs will be configured? How many data sources need to be aligned? Which changes can your team make afterwards? This gives you a practical basis for assessing the project against your own range.
Checklist for a controlled first launch
- Are the marketplace model, access and current requirements clear?
- Have you selected the first product group and its categories?
- Are the data sources and responsible people identified?
- Are variants, dimensions, media and contents unambiguous?
- Is the delivery scope documented for each data type?
- Have test products been submitted and feedback addressed?
- Has the actual retailer presentation been checked?
- Is responsibility for new items and changed requirements clear?
How does shopvibes support preparation?
shopvibes lets you maintain product information and media centrally and prepare them for configured retail partners. Reusable mappings connect the source data with each partner’s requirements. We agree the integration scope with your team.
Our furniture solution connects the key data areas for furniture and home ranges. Bring a product family and your OTTO requirements to a demo so we can discuss preparation and next steps using a concrete example.
Sources and review date
Updated on 3 November 2026. The OTTO checklist describes current seller requirements; the OTTO product documentation explains data processing and marketplace status checks.
About the author

Author
Philipp Schlieker
CTO & Co-Founder, shopvibes
Philipp Schlieker is CTO and co-founder of shopvibes. His work covers product data management, system integrations and e-commerce workflow automation.